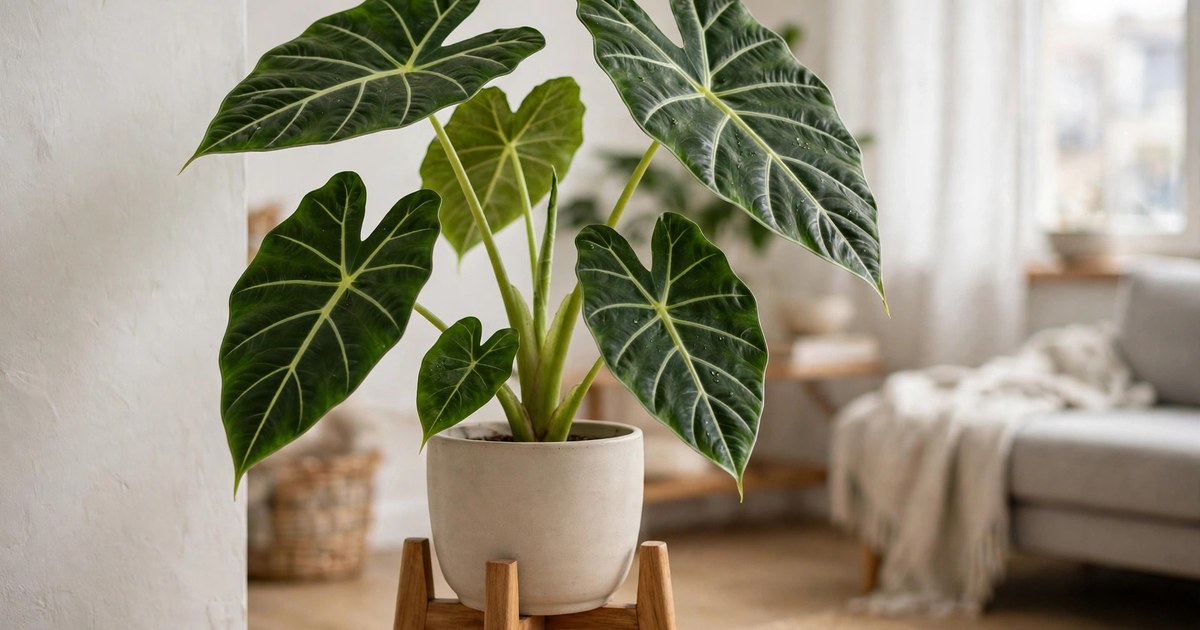
10 alocasia care tips for beginners can help a bold, leafy plant stay healthy in a small flat, a bedroom, or a bright bathroom corner. An alocasia is loved for its large, shaped leaves with clear veins, but it does not need a large room. With the right light, a steady watering habit, and a pot that fits your space, it can grow well for years.
An alocasia in a small space needs a plan. Left alone, it can droop toward the window or sit in wet soil after a kind watering. The 10 alocasia care tips for beginners below show how to keep it upright and tidy, without giving up space you need.
These 10 alocasia care tips for beginners cover light, water, soil, humidity, pruning, and feeding in plain steps. Pick the tips that fit your room, then use them week by week.
Table of Contents
What an Alocasia Needs in a Small Space
An alocasia needs bright, indirect light, a pot with drainage, and soil that stays lightly damp but never soggy. In a small space, the best spot is a few feet from a bright window, where the sun never falls hard on the leaves. It can cope with less light than many houseplants, but it grows slowly in a dark corner.
The plant also needs air around its leaves and room for new leaves to open. Crowding it against a wall or behind furniture can trap damp air and slow growth. Give it a few inches of space on each side, and turn the pot every couple of weeks so it grows evenly.
Soil matters, too. A loose mix that drains well suits an alocasia better than heavy garden soil, which stays wet and can rot the roots. A mix of houseplant soil, bark, and perlite works well.
10 Alocasia Care Tips for Beginners
The 10 alocasia care tips for beginners below work as a set, but you can start with two or three of them. Light and water matter most, while humidity, cleaning, and feeding keep the plant neat as it grows. Read each tip, then choose the shape and size that fits your room.
1. Give It Bright, Indirect Light
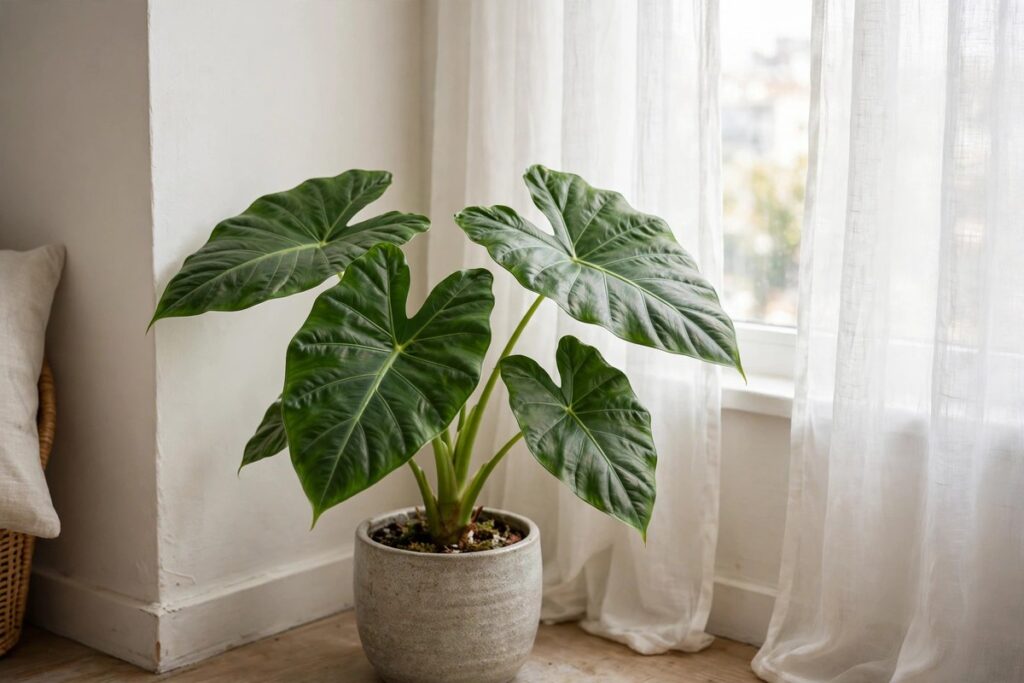
Bright, indirect light is the first of the 10 alocasia care tips for beginners, because light sets the pace for new leaves. Place the plant near a bright window, but out of harsh midday sun. An east-facing window suits it well, and a south-facing window works if a sheer curtain softens the light.
This tip suits small flats with one bright window and anyone who wants faster growth. Watch the leaves for a few weeks. Deep green leaves and steady new growth mean the light is right, while pale leaves or long, bare stems often mean the plant wants a brighter spot.
Pro tip: move the plant closer to the window in short steps over a week, rather than all at once. Mistake to avoid: placing it in a dark corner, where growth stalls and new leaves stay small.
2. Water Only When the Top Soil Feels Dry
Water when the top two inches of soil feel dry, then water well until it runs from the drainage hole. This tip suits busy owners, because it replaces a fixed schedule with a simple check. In a small pot, soil dries faster, so check it once or twice a week.
Among the 10 alocasia care tips for beginners, this one prevents the most common problem: wet roots. Empty the saucer after watering, so the pot never sits in water. In cooler months, the soil dries more slowly, so water less often and always check first.
Pro tip: use room-temperature water and water in the morning, so the leaves dry by night. Mistake to avoid: watering a little every day, which keeps the top wet while the roots stay soggy below.
3. Choose a Pot That Fits the Plant
Choose a pot one size larger than the root ball, with a drainage hole and a saucer, as one of the 10 alocasia care tips for beginners for small rooms. This tip suits renters and small rooms, because a pot that is too large holds wet soil and takes up space for no reason. A pot that is too small dries out fast and tips over as the plant grows.
Use a sturdy pot, since alocasia leaves are large and the plant can lean. A wide, low pot suits a young plant on a table. Repot in spring when roots fill the pot.
Pro tip: set the pot inside a slightly larger cover pot for a tidy look, and lift it out to water. Mistake to avoid: repotting into a pot much larger than the old one, because the extra soil stays wet.
4. Use a Loose, Free-Draining Soil Mix
A loose mix, one of the 10 alocasia care tips for beginners, lets air reach the roots and lets extra water drain away. Mix standard houseplant soil with bark chips and perlite in roughly equal parts, or buy a mix made for aroids. This tip suits anyone who has lost a plant to wet soil before.
The mix should feel light in your hand and hold its shape without packing down. When you water, it should drain within a minute or two, not sit in a puddle on top.
Pro tip: add a handful of bark to the mix when you repot, for extra air around the roots. Mistake to avoid: using dense garden soil or a mix with no drainage material, which can suffocate the roots.
5. Give It a Little Extra Humidity
An alocasia likes a little humidity, and this is one of the 10 alocasia care tips for beginners that matters most in dry homes. Normal indoor air can dry the leaf edges, so group the plant with one or two other plants to raise the moisture around the leaves. This tip suits small flats, where a humidifier may not fit.
A tray of pebbles and water under the pot can help, too, as long as the pot sits above the water. Keep the plant away from radiators and air vents, which dry the air fast, and wipe the leaves now and then to keep them clean.
Pro tip: place the plant in a bright bathroom, where steam from a shower adds moisture. Mistake to avoid: misting the leaves every day, which can leave water sitting on the leaves and invite spots.
6. Prune Old Leaves to Keep It Tidy
Prune in spring to keep an alocasia tidy, following the 10 alocasia care tips for beginners for small spaces. Cut a yellow or drooping leaf at its base, using clean, sharp scissors. This tip suits small spaces, because it stops old leaves from crowding new growth and keeps the plant looking full.
An alocasia often drops an old leaf as a new one opens, which is normal. Remove the old leaf once it has yellowed, so the plant can put its energy into the new leaf.
Pro tip: wait until a leaf is fully yellow before you cut it, so the plant can take back what it needs. Mistake to avoid: cutting healthy green leaves, which removes food the plant still uses.
7. Clean the Leaves Often
Large alocasia leaves collect dust, which blocks light and dulls their shine, so the 10 alocasia care tips for beginners include regular cleaning. Wipe each leaf gently with a damp, soft cloth every few weeks. This tip suits homes near a busy road or with pets, where dust builds up fast.
Cleaning also gives you a chance to check the undersides of the leaves for pests or damage. Hold the leaf from below with one hand and wipe with the other, so you do not bend or tear it.
Pro tip: clean the leaves on the same day you water, so care stays in one simple routine. Mistake to avoid: using a rough cloth or scrubbing hard, which can scratch the leaf surface.
8. Feed Lightly in Spring and Summer
Feed lightly in spring and summer, when the plant is growing, and skip feeding in the cooler months. Use a balanced houseplant feed at half the strength on the label, once a month. This tip suits owners who want steady growth without pushing the plant too hard.
Feeding supports new leaves, but it cannot fix poor light or wet soil. If the plant is struggling, fix light and water first, then feed once new growth appears.
Pro tip: feed after watering, never on dry soil, so the roots are not burned. Mistake to avoid: feeding every week or at full strength, which can burn leaf edges and damage roots.
9. Keep It Warm and Out of Draughts
An alocasia likes warmth and dislikes cold air, so the 10 alocasia care tips for beginners include keeping it away from draughts. Keep it away from open doors, cold windows in winter, and air vents that blow cold air. This tip suits small flats, where a plant near the front door can catch every cold gust.
A steady, warm spot helps the plant keep its leaves through the cooler months. If a leaf droops after a cold night, move the plant to a warmer spot and wait before you change anything else.
Pro tip: keep the plant in the warmest bright room you have in winter. Mistake to avoid: placing it beside a cold windowpane, where the leaves can chill overnight.
10. Check the Roots and Repot in Spring
Check the roots each spring by lifting the plant gently from its pot. If roots circle the bottom or grow from the drainage hole, move up one pot size. This tip suits owners who want to catch problems early, before the plant stalls.
Among the 10 alocasia care tips for beginners, repotting is the one to plan ahead. Use fresh mix, set the plant at the same depth, and water well after repotting. Give it a week or two in its usual spot to settle, and hold off feeding until new growth starts.
Pro tip: repot on a tray or old towel, so soil stays off the floor in a small room. Mistake to avoid: repotting in the middle of a cold spell, or moving up two pot sizes at once.
How to Follow 10 Alocasia Care Tips for Beginners at Home
The 10 alocasia care tips for beginners in this guide work best as a weekly routine, not a one-off fix. Following the 10 alocasia care tips for beginners, check the soil, turn the pot, and look at the leaves once a week. That short check catches dry soil, dust, and drooping leaves before they become problems.

For more seasonal care ideas, see our guide to winter indoor plant care tips.
Mistakes That Hurt an Alocasia in Small Spaces
The most common mistake is overwatering. For the 10 alocasia care tips for beginners, the warning is the same each time: wet soil in a small pot rots roots fast. Yellow leaves, soft stems, and a musty smell often point to too much water, so let the soil dry, check the drainage hole, and hold back until the plant recovers.
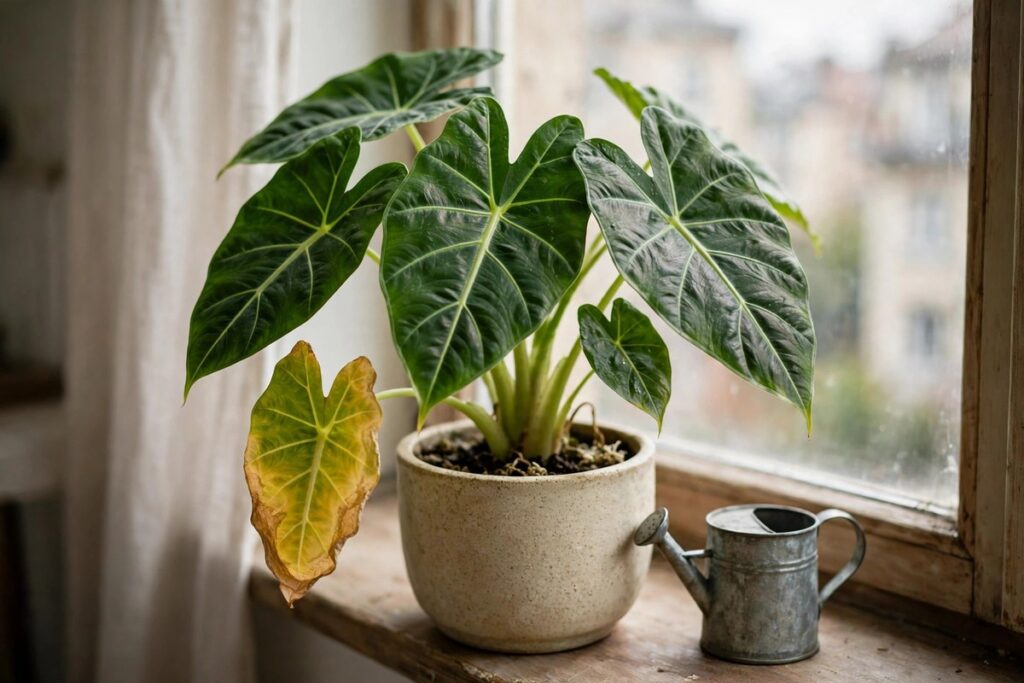
The second mistake is too little light. An alocasia in a dark corner grows slowly, and new leaves may stay small. Move it to the brightest indirect spot you have for a few weeks, and watch for new growth before you change anything else.
The third mistake in the 10 alocasia care tips for beginners is letting the plant sit in cold, dry air. Without warmth and a little humidity, leaf edges dry and older leaves drop fast. Keep it warm, group it with other plants, and avoid cold draughts, so the plant keeps its leaves through the cooler months.
Where to Place an Alocasia in a Small Space
Start with the brightest indirect spot you have, as the 10 alocasia care tips for beginners suggest: a few feet from a bright window, beside a window with a sheer curtain, or across the room from a large window. That is the safest home for an alocasia, and it keeps new leaves coming. Keep it away from radiators, cold draughts, and direct sun through glass.

Group it with a leafy plant so the corner looks layered, as a small houseplant display that shares the same light.
Think about daily life, too. A plant you see each day gets watered and checked, while one behind a door gets forgotten. Put your alocasia where you will notice it. See our small space garden ideas for winter for more compact-room ideas.
Frequently Asked Questions About 10 Alocasia Care Tips for Beginners
Do 10 alocasia care tips for beginners work for a small alocasia in a pot?
Yes. The 10 alocasia care tips for beginners in this guide suit a young plant in a small pot as well as a larger floor plant. Start with light, water, and a pot that fits, then add humidity and feeding as the plant grows taller.
How often should I water an alocasia in a small space?
Water when the top two inches of soil feel dry, which may be once a week in warm months and less often in cooler months. In a small pot, soil dries faster, so check the soil rather than watering on the same day each week.
Why are my alocasia leaves turning yellow?
Yellow leaves often mean the soil has stayed wet for too long, or an old leaf is making way for a new one. Let the soil dry out, check that the pot drains well, and remove the yellow leaf at its base once it has fully yellowed.
Can an alocasia grow in a room with low light?
It can survive in low light for a while, but it will grow slowly and make small leaves. For the best shape and growth, give it the brightest indirect light you have, and move it closer to the window in short steps.
When should I repot my alocasia?
Repot in spring when roots fill the pot, grow from the drainage hole, or water runs straight through. Move up one pot size, use fresh loose mix, and water well after repotting.
Conclusion: Grow a Healthy Alocasia in a Small Space
The 10 alocasia care tips for beginners in this guide show that an alocasia does not need a large room to thrive. Bright, indirect light, careful watering, loose soil, and a little warmth are enough to keep it upright, full, and growing in a small space.

Start with light and water, then add humidity and pruning as the plant grows. Check the soil each week, clean the leaves now and then, and repot in spring when the roots need room. With those steady steps, your alocasia can stay a favourite part of your home, so see our easy houseplants for low light for more plants that suit the same bright, sheltered spots.